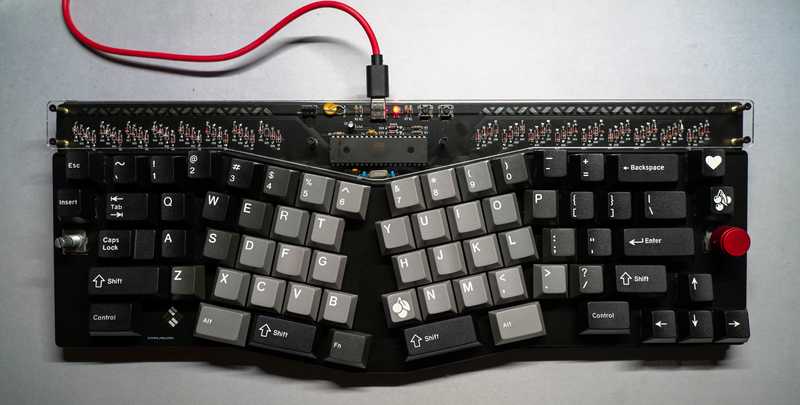
Hello! In this blog post, we’ll be going through the build process of the Basketweave-S mechanical keyboard.
Links
DIY kit on 42keebs.eu
Build guide
QMK fork
About the board
The Basketweave-S is a 75% mechanical keyboard with Alice-like layout.
Below I’ve listed everything you will need to turn it from a board into a working mechanical keyboard
As for this build, the parts we will be using are the following:
Switches: Durock Lavender, 65g
Lube: Krytox 205g0 and 105 for springs
Films: Deskeys films
Keycaps: ePBT Shadow Version A
- Main PCB
- Bottom plate (FR4 material)
- Switch plate (FR4)
- All electronic components
- Controller flashed with USBaspLoader
- 1x EC11 rotary encoder
- Brass standoffs and screws
- Acrylic cover
In addition to that, you will need
- 5x 2u PCB mount stabilizers
- Keycaps (check for compatibility)
- 69-71 Compatible switches (5pin)
- Soldering iron and solder
- Phillips head screwdriver
- Flush side cutters
- No-clean flux for soldering USB-C port
- USB Type C cable
Color descriptions:
As for my tools, I’m using a TS100 soldering iron.
Introduction
I’ve always wanted to try out an Alice-style board. I think they look cool. I don’t believe they are any better than a standard keyboard layout from an ergonomical viewpoint, but they have this very nice aesthetic to them. Especially since you can see the components through the acrylic panel, gives it a very nice retro vibe. Also worth noting that the revision of my board is 1.9, and I used the USB-C soldering service that piit79 offered.
As you might have noticed, in some pictures the board is white whereas in others it’s black. This is because I didn’t take enough pictures of the assembly process when I was building it, so I’m using images I took when my friend was assembling his own Basketweave-S at my place.
Soldering the area around the MCU
This part is straightforward, just follow the build guide and make sure to pay attention to the orientation of the components as stated in the build guide.
For inserting the ATmega32a, the pins might be a bit too “wide” around the socket. This is easily remedied by pushing the flat side of the pins against the table so they turn slightly inwards.
Once you’re done soldering this, we’re ready to move on to installing QMK
QMK
For my QMK setup, I’m using WSL2 with Ubuntu. I mainly develop using Linux/MacOS, WSL2 allows me to run Linux tooling on my main gaming PC.
You might also be wondering, what the hell is QMK?
Prerequisites
This part will cover installing QMK on WSL2 with Ubuntu. Shamelessly copied from QMK’s newbs guide so this may be subject to change.
sudo apt install -y git python3-pippython3 -m pip install --user qmkqmk setup
QMK should now be set up.
Building for QMK
In this part we will clone piit’s build of QMK with the firmware for the Basketweave-S and build it.
qmk clone piit79/qmk_firmwareqmk compile -kb 42keebs/basketweave_s -km default
This will output a 42keebs_basketweave_s_default.hex file into ~/qmk_firmware if you installed QMK into the default location.
For Vial
There is a pull request on piit’s fork of QMK for adding Vial
support.
QMK fork of piit’s fork, for Vial support
These instructions will help you install Vial support, in case it’s not merged by the time this post is published.
qmk clone IvoPo/qmk_firmwarecd ~/qmk_firmwaregit checkout basketweave-s-vial# -km can either be default or vialqmk compile -kb 42keebs/basketweave_s -km vial
Flashing firmware
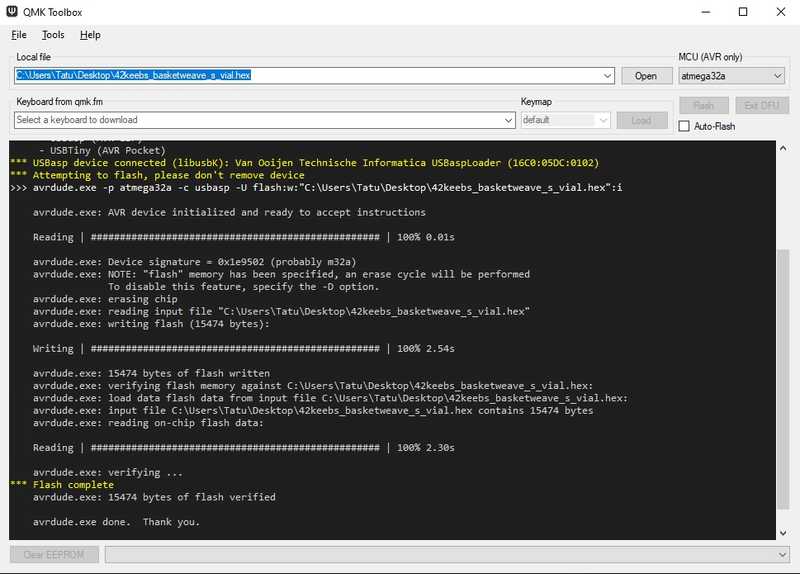
If you’re using QMK Toolbox, you can simply point the Local file to the compiled .hex file. Remember to select ATmega32a for the MCU.
If your Basketweave-S is not showing up as a connected device, try holding the boot button on the top of the PCB to put it into bootloader mode when plugging in the USB-C cable.
Flashing on Linux using QMK
I haven’t tried this myself, but you should be able to flash it onto the MCU from the command line by running:
cd ~/qmk_firmware# For QMKmake -kb 42keebs/basketweave_s:default:flash# For Vialmake -kb 42keebs/basketweave_s:vial:flash
Diodes
So the MCU works. That means it’s time to put on some diodes!
This part might take a while. There’s a diode for every switch, so there’s 71 diodes (+ a few additional for the encoders). I just put in around 20 at a time and then soldered. Depending on your speed this might take an hour / a few hours. I was very lazy so it took me around 2.5 hours to do.
Stabilizers
For the acoustics of the board (yes, keyboard nerds care about that) I wanted to get some premium stabilizers. I opted to use some Durock V2 screw in stabilizers.
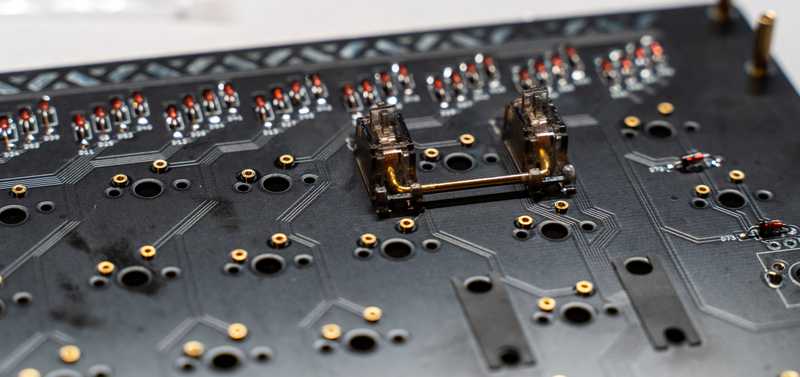
To prepare the stabs, there’s a few steps. Let’s start with the “holee mod”.
Now to anyone who is not into mechanical keyboards, this might sound pretty stupid. Now that I’ve tested it, I can assure you that it works! The stabilized keys sound so much nicer after. I guess it’s because the balancing wire inside the stabilizer is now neatly cushioned between lubricated plastic and the bandaid.
I also wanted to pamper myself so I got myself some stab foam. You put this between the PCB and the stabilizer to dampen the sound of the stabilizer hitting the PCB when you press the key.
Now after all of that is done, time to screw on the stabs.
Switches
This is the part that most mechanical keyboard enthusiasts hate. It’s called lubing the switches.
Believe me, the first time I heard people do this I thought they were some kind of nutjobs. But I did it for my second mechanical keyboard I modified and noticed a significant difference in smoothness! If you have the time to do it, it’s definitely worth it. I wanted to splurge on this board so I spent a lot of time doing this.
To lubricate a mechanical keyboard switch, you first take it apart using something called a switch opener. You’ll be able to pop out the individual parts. Here’s what a single switch consists of:
- Top housing
- Stem
- Spring
- Bottom housing
To save some time lubing the switches, I used a method called bag lubing. That means you open up all the switches and put them in a plastic bag or some kind of a closed container, put in some lube and vigorously shake for around 10 minutes.
Then you do a pass around on the bottom housing, put in the spring, take the stem and put a tiny even coat around it. There’s a saying in the keyboard community that goes “less is more”, simply because it’s annoying to fix an overlubed switch.
Filming is done to make the top housing sit snug on the bottom housing. I don’t know if this actually makes any difference for acoustics but I decided to do it anyways.
Putting it all together
You may have noticed that the white PCB looks a bit different than mine. That’s because I’m using hotswap sockets. For my friend’s build, at this point we put on the encoders and soldered in the switches.
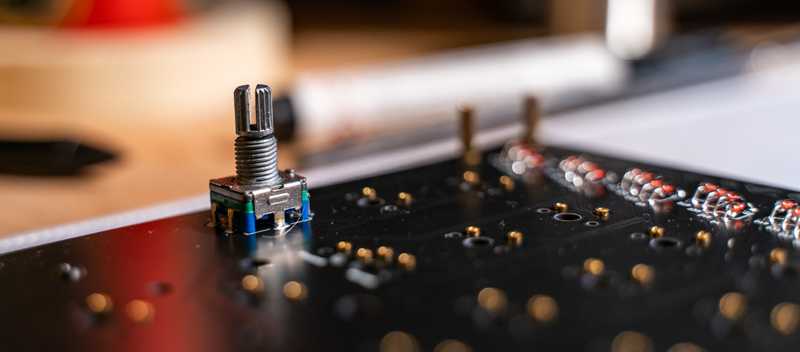
In my case, since I already soldered in the sockets, I only have to solder in the encoders.
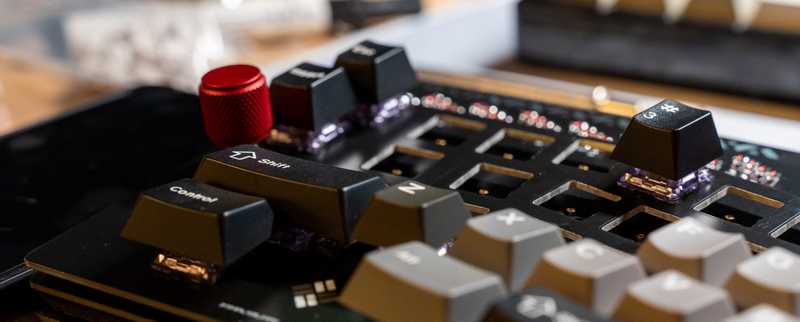
After that, it’s time to pop in the switches. I was really lazy with the lubing process. I was basically doing 10 switches at once and then putting them in the keyboard just to see the progress.
End result
Here’s some pretty images of the finished build:
Experiences with Alice layout
Footnote
I released this post on the same day I finished the build. I'll update this section (or maybe make a new blog post) once I have used the layout for a bit and have a feel for how I like it.


